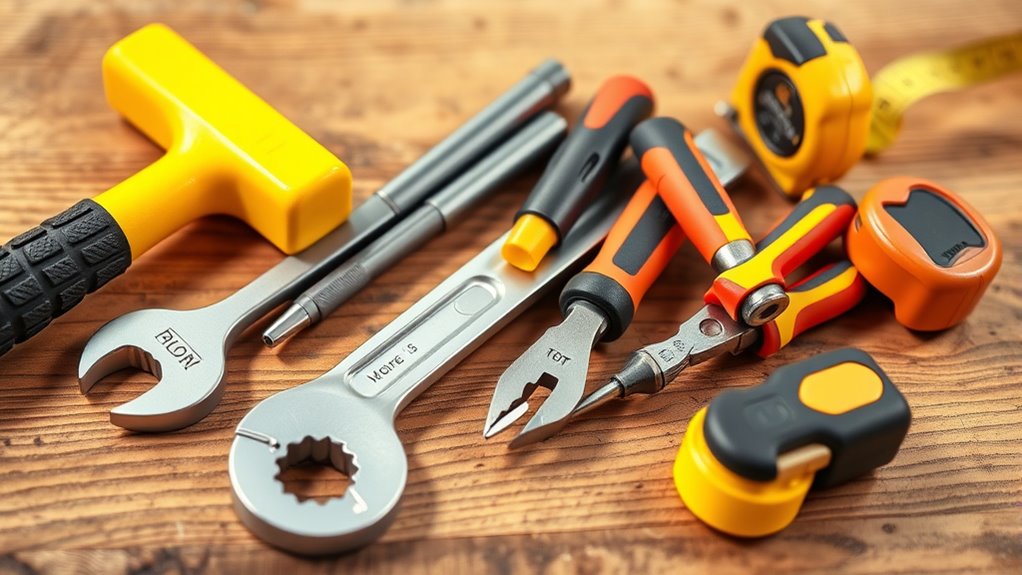
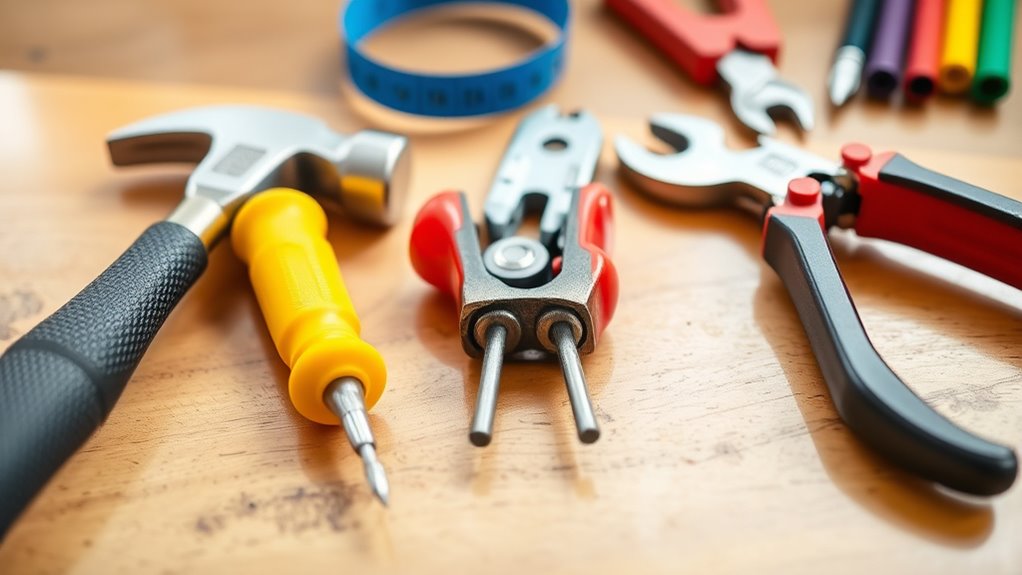
To create a toolkit for DIY home repairs with visual cues, organize your tools with color-coded labels or clear labels for quick identification. Use safety gear like gloves, glasses, and masks to stay protected during tasks. Keep tools well-maintained, clean, and in good condition to guarantee safety and efficiency. An organized, visually guided setup saves time and reduces accidents. Stay tuned to discover more tips that will help you build an effective, user-friendly repair toolkit.
Key Takeaways
- Use color-coded or labeled storage containers to organize tools like screwdrivers, pliers, hammers, and tapes for quick visual identification.
- Incorporate visual cues such as icon labels or color markings on tool handles to differentiate tool types easily.
- Maintain a clean, organized workspace with designated areas for each tool to minimize clutter and improve safety during repairs.
- Choose tools with ergonomic grips and clear markings to ensure comfortable, efficient use and easy recognition.
- Regularly inspect and maintain tools to keep their appearance and condition obvious for safe, effective DIY home repairs.

Embarking on DIY home repairs can be rewarding, but having the right toolkit is essential for success. When you’re starting out, it’s important to prioritize safety gear. Safety gear includes items like gloves, safety glasses, and masks, which protect you from debris, dust, and potential hazards. Always wear safety glasses when cutting or drilling, and gloves when handling sharp tools or rough materials. Investing in quality safety gear not only shields you from injury but also helps you work more confidently, knowing you’re protected.
Prioritize safety gear like gloves and glasses for confident, protected DIY home repairs.
A well-organized toolkit makes all the difference. Keep your tools clean and in good condition through regular tool maintenance. Wipe down your tools after each use to prevent rust and corrosion, and check for any damage or wear. Sharpen blades and replace worn-out parts promptly. Proper tool maintenance extends the lifespan of your tools and guarantees they function safely and efficiently during your projects. When tools are well-maintained, you reduce the risk of accidents caused by malfunctioning equipment, making your DIY efforts smoother and safer.
Visual cues play a crucial role in identifying the right tools quickly. Familiarize yourself with the appearance of essential items like screwdrivers, pliers, hammers, and measuring tapes. Use color-coded or labeled storage for easy access—red for screwdrivers, blue for pliers, etc. When you see a tool with a specific shape or color, you’ll instinctively grab what you need without wasting time searching. This organization minimizes frustration and keeps your workspace safer by reducing clutter and accidental trips over misplaced tools.
As you build your toolkit, pay attention to the ergonomic design of your tools. Comfortable grips and balanced weight make prolonged use less tiring and reduce strain. When selecting safety gear, choose items that fit well and are comfortable to wear. This encourages consistent use, especially during longer projects. Regularly inspect your tools for damage—cracks, rust, loose parts—and address issues immediately. Proper tool maintenance not only prolongs the life of your equipment but also keeps your work safe and effective. Additionally, selecting tools made from durable materials ensures they withstand the demands of various DIY projects, including those involving heavy-duty repairs.
Frequently Asked Questions
What Are Essential Tools for Beginners in DIY Home Repairs?
When starting DIY home repairs, you need a few essential tools in your beginner tool kit. Focus on basic items like a hammer, screwdrivers, pliers, and a tape measure. Keep your tools organized to make your projects smoother, so invest in a tool organizer. Building a solid beginner tool kit guarantees you’re prepared for most small repairs and helps you stay confident as you learn new skills.
How Do I Choose the Right Visual Cues for Specific Repairs?
Ever wonder how to pick the right visual cues for repairs? Think about the repair guide clarity and matching cues to specific tasks. You should select visual cues that clearly demonstrate each step, like color coding or icons, to avoid confusion. Pay attention to detail, and choose cues that align with the repair’s complexity. This approach makes your DIY projects smoother and more successful. Isn’t clarity the key to confident repairs?
Are There Safety Tips for Using Tools With Visual Instructions?
When using tools with visual instructions, always prioritize tool safety by wearing protective gear and working in a well-lit area. Guarantee the visual instruction clarity is high; if something isn’t clear, consult additional resources before proceeding. Keep your workspace organized to avoid accidents, and handle tools carefully, following the visual cues step-by-step. Remember, staying cautious and attentive minimizes risks and helps you complete repairs safely and effectively.
How Can I Troubleshoot When Visual Guides Are Unclear?
When visual cues are fuzzy shadows on the wall, you’re steering a maze in the dark. To troubleshoot, start by checking if the guides are clear and properly lit—sometimes a brighter light or a fresh set of eyes helps. Look for common troubleshooting tips like verifying measurements and inspecting tools. If still unclear, consult alternative resources or ask for advice. Clear visual cues lead to confident repairs, not costly detours.
What Maintenance Is Needed for a DIY Repair Toolkit?
To keep your DIY repair toolkit in top shape, focus on tool upkeep by cleaning and inspecting each item regularly. Guarantee you have proper storage solutions to prevent rust and damage, like a toolbox or designated drawer. Check for worn-out or missing tools and replace or repair them promptly. Proper maintenance keeps your toolkit ready for any project, saving you time and frustration during your home repairs.
Conclusion
With this toolkit in your hands, you’re armed to tackle home repairs like a pro. Think of it as your trusty map guiding you through every fix and fix-up, turning obstacles into opportunities. Remember, each tool is a stepping stone on your DIY journey. So, embrace the challenge, stay confident, and let your newfound skills shine. Your home will thank you as you turn every repair into a story of success—proof that you’re capable of anything.


